


*
Learn about admission requirements, how to apply, and the next steps once you’ve applied to the KMIT.
Click Here


Keshav Memorial Institute of Technology (KMIT), established in year 2007, is one of the premier engineering colleges in the state of Telangana. KMIT is sponsored by Keshav Memorial Education Society (KMES), well known in Hyderabad, for the past 75 years, for running various educational institutions of repute. KMIT is approved by All India Council for Technical Education (AICTE), New Delhi, and affiliated to Jawaharlal Nehru Technological University (JNTU), Hyderabad and recognized by the Govt. of Telangana. KMIT is co-promoted and powered by Genesis Solutions Pvt. Ltd, a premier institute in Hyderabad imparting industry focused software training and education in emerging technologies and having tie-ups with leading MNCs. KMIT campus is located in Narayanaguda, a central locality in the city of Hyderabad.
 03-07-2024
Documents to be submitted at the time of submission - EAPCET-2024 - Click Here
03-07-2024
Documents to be submitted at the time of submission - ECET-2024 - Click Here
06-04-2024
Webinar on Security and Privacy Issues in the World of Cryptocurrencies and Modern mobile Oses.
29-02-2024
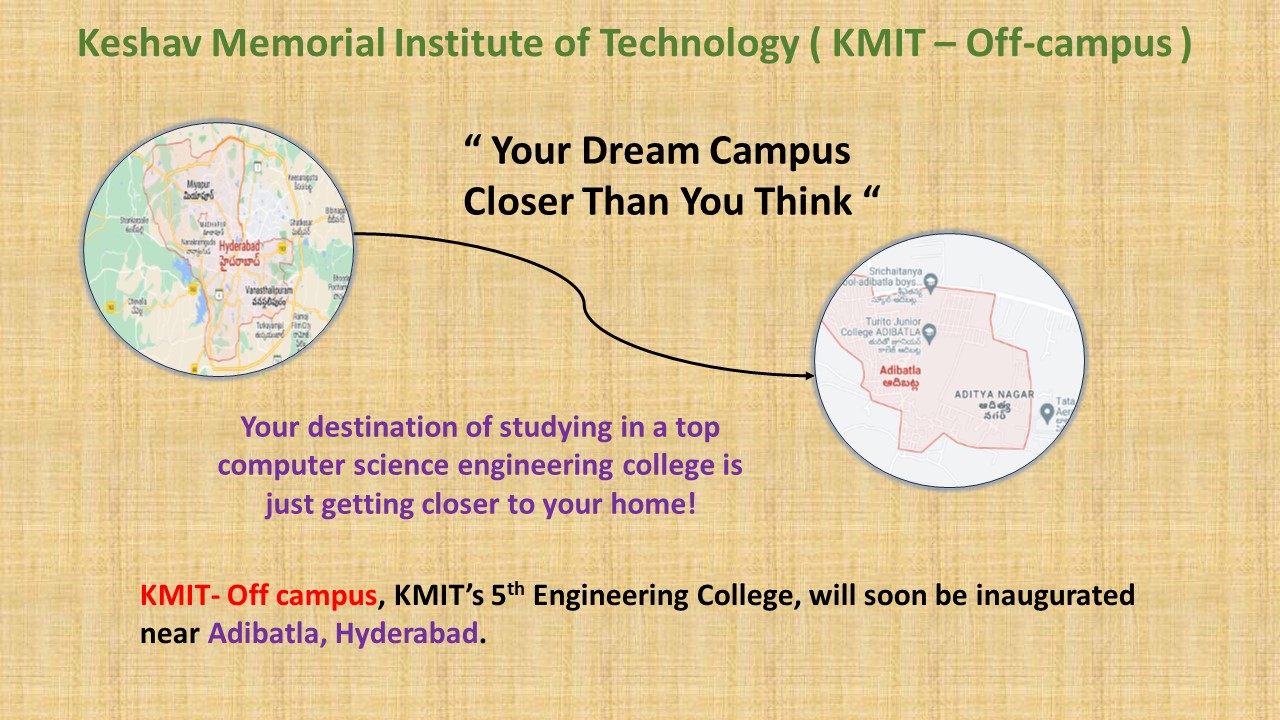
Proud to announce its new campus under the KMIT crown KMIT-Off campus @ Adibatla, Hyderabad, with intakes CSE-180, CSE(AIML)-120, IT-30 and CS&IT-30
10-01-2024
The First IndusFour Conference: Computers, Information Technology, Data and Sustainability 2024:
Dates: March 30 & 31, 2024
Mode of Conference: Online, to know more, click here to view
09-01-2024
VectMag Signed a MoU with KMIT and NGIT Group of Institutions Hyderabad, To know more click here to View
21-12-2023
Circular: The OMBUDSPERSON nominated by JNTUH University: click here To View.
29-11-2023
Amrit Kaal Vimarsh Viksit Bharat@2047: A Development-Dialogue on-Future of Academia-Future Technologies for Automobile on 29/11/2023 Time: 11 am onwards. To know more click here Venue: Mini auditorium, Bhavishya Dwar, 2nd floor. Speaker: Lt Col P Mohammed Ali (Retd), Sr Consultant, Automotive Skill Development Council (ASDC).
10-09-2022
Department of CSE is conducting a "One-Week FDP on Academic Writing, Publishing and Patent Protection" from 12-09-2022 to 17-09-2022. To know more click here Venue: FS10 Time: 1:45 pm to 4:15 pm.
27-01-2022
One Week Online Workshop on "Privacy and Cyber Security" from 31-01-2022 to 5-02-2022, in association with CSI. To know more click here
09-02-2023
KR20 - B.Tech II YEAR I SEMESTER SUPPLEMENTARY EXAMINATION FEE NOTIFICATION - MARCH 2023View PDF
01-02-2023
KR21 - B.Tech II YEAR I SEMESTER REGULAR EXAM FEE NOTIFICATION - MARCH 2023View PDF
29-07-2022
II B.TECH II SEMESTER REGULAR EXAMINATION (KR20) TIMETABLEView PDF
25-01-2022
II B.TECH I SEMESTER REGULAR EXAMINATION (KR20) NOTIFICATIONView PDF
12-10-2021
B.Tech I year I sem (KR-20) Supplementary Examination time table View PDF
12-10-2021
KR-20 B.Tech I year I sem Supplementary Examination RegistrationView PDF
01-10-2021
KR20 I year II semester updated exam scheduleView PDF
09-09-2021
KR20- B.TECH I YEAR II SEM EXTERNAL EXAMINATION TIMETABLEView PDF
28-08-2021
KR20-B.Tech I Year II sem II mid TimetableView PDF
30-07-2021
NPTEL Courses 2021-2022 Timetable View PDF
30-07-2021
B.Tech 1.1 notification for computer-based test (CBT)View PDF
04/04/2024
6 students were selected in Zemoso Labs with a pay package of 6.8LPA
04/03/2024
1 student was selected in Infospoke with a pay package of 5LPA
03/15/2024
1 student was selected in Openprise CSA with a pay package of 5LPA
03/16/2024
5 students were selected in RispostaCorp with a pay package of 5LPA
03/15/2024
7 students were selected in Pronix with a pay package of 5LPA
03/11/2024
16 students were selected in Eidiko Systems with a pay package of 4LPA
03/09/2024
2 students were selected in Beautiful Code with a pay package of 10LPA
01/30/2024
5 students were selected in Copart (testing) with a pay package of 6LPA
01/24/2024
6 students were selected in Tek Systems with a pay package of 6LPA
01/22/2024
1 student was selected in Techolution with a pay package of 11LPA
01/22/2024
9 students were selected in NCR Voyix with a pay package of 14LPA
KMIT has carved a niche for itself by focusing on providing holistic education that inculcates problem solving skills, professional and ethical responsibilities. The various programmes and platforms offered by the college encourage learner autonomy. Its notable initiatives include – Trishul, coaching for BEC, Finishing School, UTTKARSH, TESSELLATOR and add on programs under SONET. KMIT has the distinctive advantage of being located in the heart of the city i.e. Narayanguda. This allows an ease of connectivity to every part of Hyderabad what with the metro station, bus stop situated very close to the college.
Learn about admission requirements, how to apply, and the next steps once you’ve applied to the KMIT.
Click HereTessellator is KMIT’s learning management system. It is customized version of Moodle, an open source learning management system provided by Google.
Click HereThe best teachers are life-long learners. And create avenues for students to put their knowledge to practice.
Read More


