There are so many things you can gift a friend, but the best gifts are those you make yourself! We all face the problem of not being able to figure what to give someone on their special day. Instead of going for something bought from a store, you can always tread the path of your creativity and still have your friend love what you give. Here’s a simple gift that anybody can use any day- a simple, yet creative papier-mâché bowl! Dump your utensils, keys, or stationary stuff in it- whatever you want. You can even make it look however you like! Here’s what you need to make your creative do-it-yourself bowl:
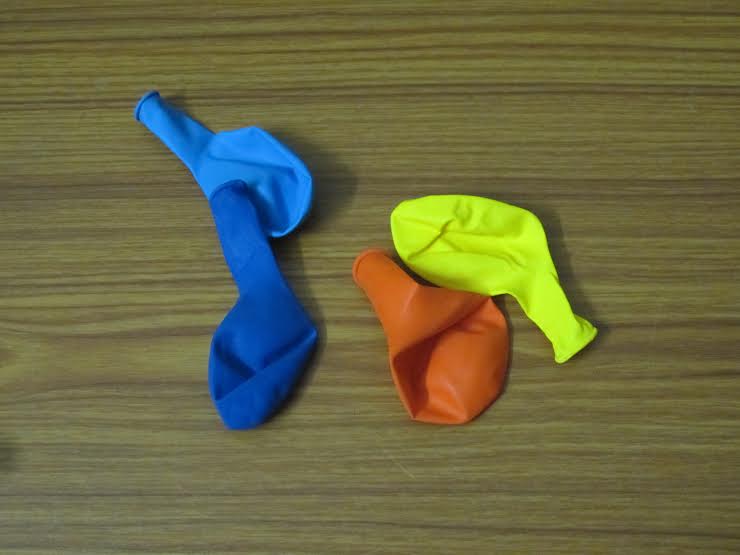
- A balloon
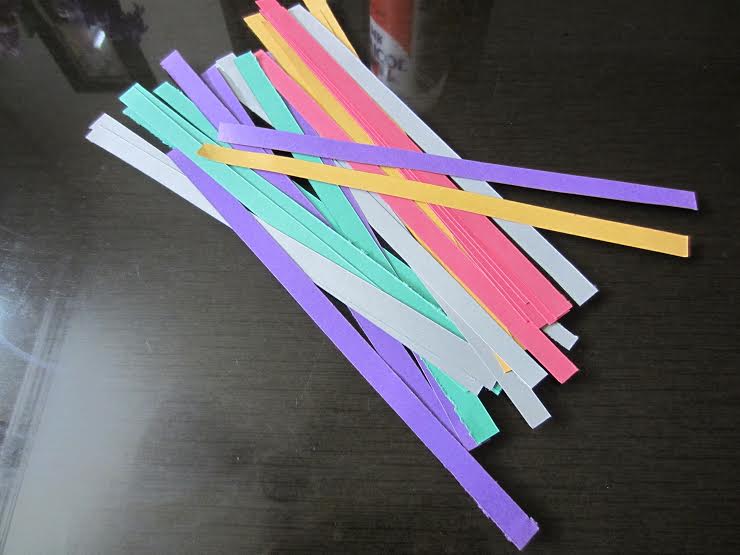
- Newspaper and coloured paper
- Fevicol
- A vessel (any vessel with a medium sized mouth would do)
- Water
- Tape, scissors and a paint brush

 Now that you’ve got everything you need, you have to just follow these easy steps!
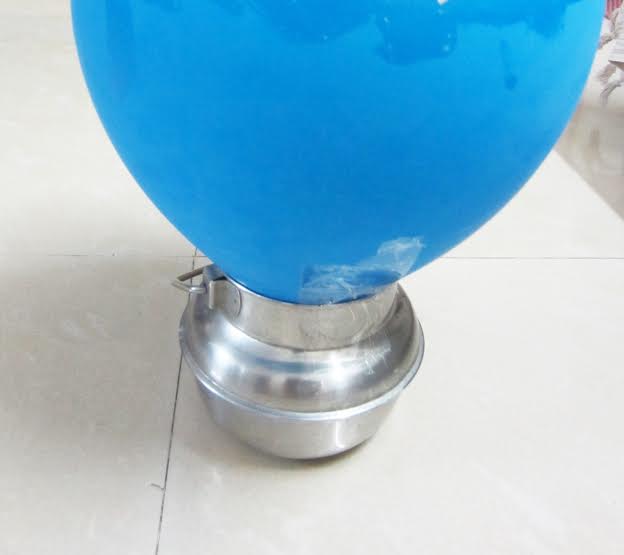
- Blow the balloon till it becomes as big as it can be. Knot the end of the balloon and secure it onto a vessel, with the knotted end in the vessel, using some tape.
- Pour a good amount of Fevicol into a bowl and dilute it by adding little water. Don’t make the mixture too thin otherwise it will become too runny.
- Cut newspaper into several strips, each about two fingers wide and the length of your palm.
- Using a brush, apply some of your diluted Fevicol mixture to one side of a newspaper strip and stick it the top of your inverted balloon. Apply more of the Fevicol mixture onto the strip after placing it on the balloon.
- Continue the 4th step for all your paper strips. For convenience, you can draw a line with a permanent marker on the balloon indicating how deep your bowl will end up.

- Once you’ve finished with one full layer, repeat step 4 and add another 2-3 layers of newspaper strips. This will make your bowl thicker and stronger. After completion of about 4-5 layers, the balloon should like this:

- Layers dry over a few hours. If you wish, you can also add layers using scrapbook paper for a colourful look.
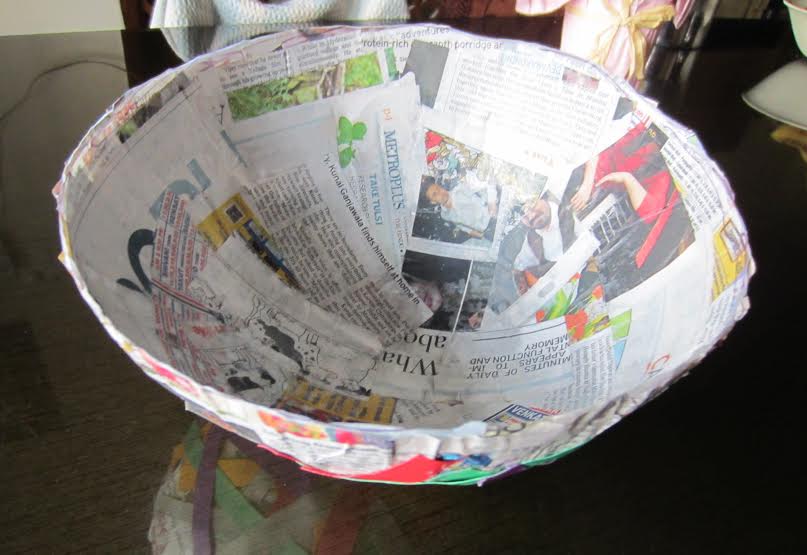
- After the newspaper is completely dry, pop the balloon. (My favourite part!) Your bowl should fall in its finished shape, fully dry. Peel off any remaining parts of the balloon still stuck to the inner part of the bowl.
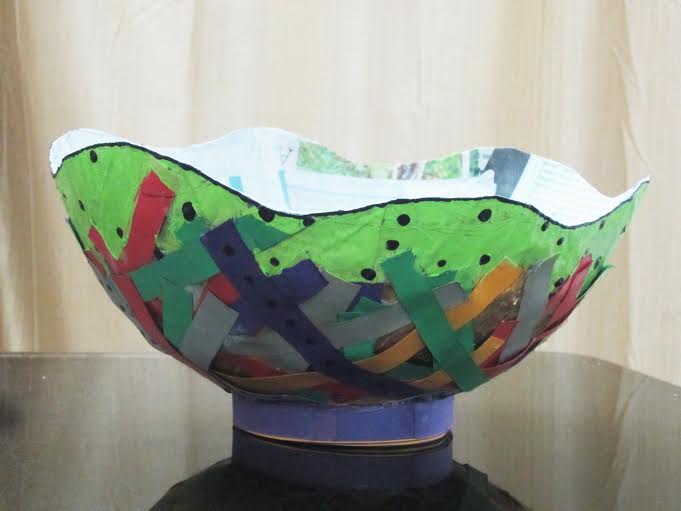
- The finished base for your bowl will be stiff and perfectly curved.
- Use your imagination, now! Cut and shape the rim, or leave it rustic! Paint it or colour it however you like!
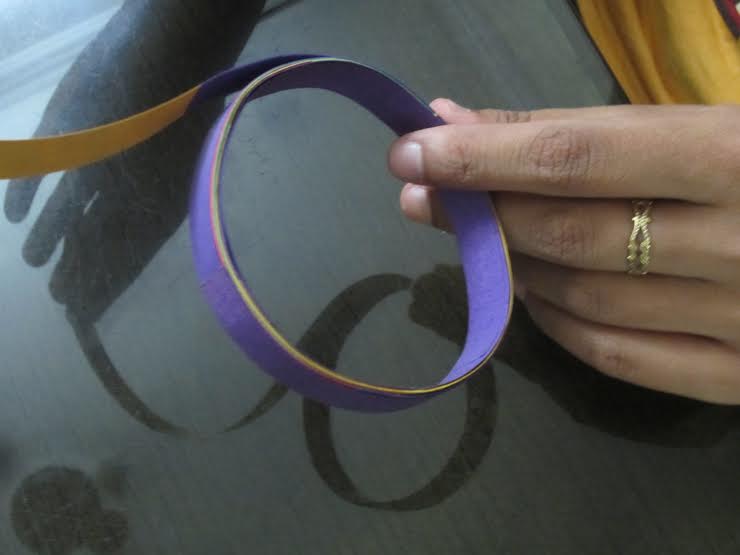
- In addition, you can also make a base/stand using coloured paper strips to support your bowl. To do so, cut thin strips of coloured paper, glue them end-to-end and wind them into a circular shape, so that it looks like a thick bangle.

- Glue your base to the bottom of the bowl and VOILA! Your handmade papier-mâché bowl is all set to gift!


April 4, 2015 at 10:49 AM
Nyccccc